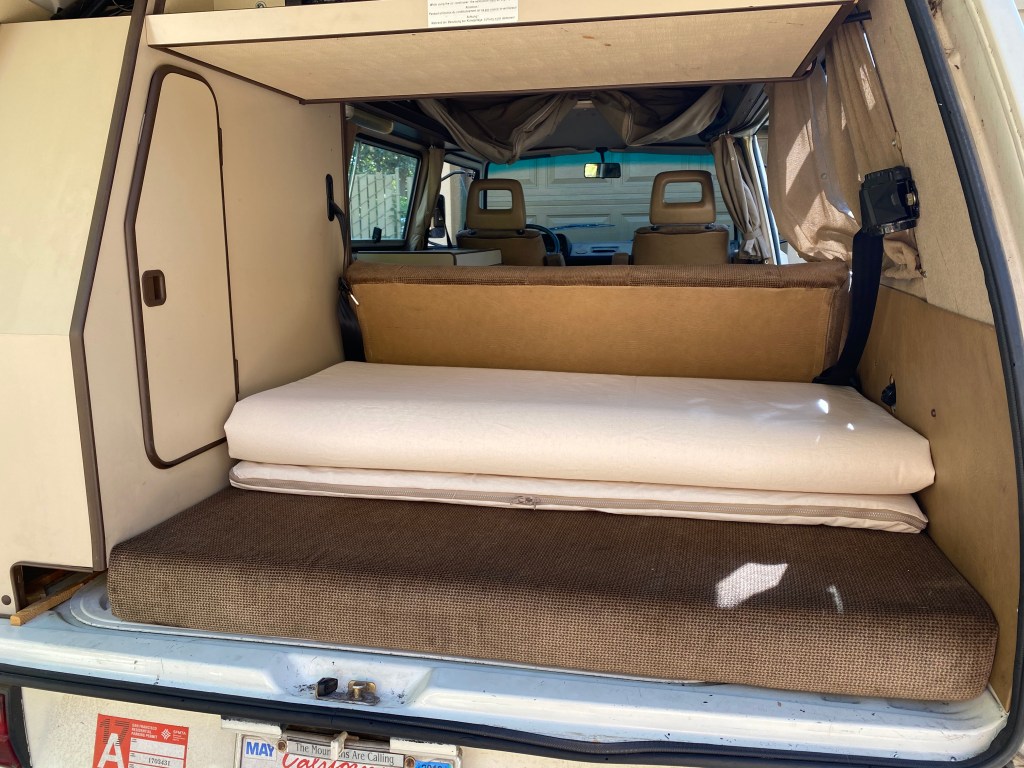
Anyone who loves their Westy probably tolerates the mattress. It’s not like it’s terrible, but that fold down seat in my 85′ is a little bumpy and hard in all the wrong places. I’ve been eyeing the GoWesty mattress topper for awhile, but it almost always seems to be sold out. What I really like is how it folds up nice and flat in the back of the van–taking up very little space, since space is a premium. And, I am not gonna lie. It’s also kinda on the pricey side for some foam…
My first attempt at the mattress issue was to find a trifold mattress I could use in it’s place. Basically, trifold mattresses don’t come in a size that fits. The measurements of the bed are 46″ x 72″ in the Westy. The closest thing is a full size 52.5″ x 73.5″. But, I don’t want extra hanging over the end or folding up on the sides. I already played that game with a big memory foam mattress topper that we would roll up in the back. It was HUGE. The twin size trifolds are also way too small, so no luck there.
Then I decided to make my own custom topper; I did. And, I love the heck out of it. I’ll tell you how I did it, and I will give you some suggestions to do it on the cheap. Well on the cheaper… at least.
I first went to the craft store where I was horrified to find that each piece of 2′ x 6′ foam is basically $80, and to make the trifold, I figured I would need 3 pieces. Sorry… not sorry… but f@#k that! That’s stupid. A whole mattress topper is only like 50-bucks for a regular bed. Ah… yes… A mattress topper is only 50-bucks. So, I immediately got on the target app and ordered a full-size 1.5″ foam mattress topper. Remember, overall the Westy mattress ain’t so bad, but just could use a little cushion. This mattress topper was $54 and some change with tax. Not bad. Since I was already at the fabric store, I went ahead and bought two pieces of canvas 60″ x 80″ (2.25 yards each). Honestly, I had the store cut two pieces just so I didn’t have to cut it at home. Lazy. I also bought two zippers. Each one was 28″ long. If I could have found a zipper that was 48″ or 50″, I would have bought it, but I couldn’t, and I wasn’t looking to special order something. Fabric and zippers and some thread all totaled about $60. So I’m about $104 dollars into this project. Not bad. Half the cost of the GoWesty mattress… that no one can buy anyways because the damn thing is always sold out.
I have the most rudimentary sewing skills. I got a sewing machine I bought at a yard sale for $40. It’s a cheap Brother. Does the basic things. Basically, the mattress needs to be 46″ wide, and each side of the mattress is 1.5″ high and I estimated another .5″ for the seam on each side. So the total width was 50″. And, then I made the length 76″. That’s the 72″, plus 1.5″ for each side and .5″ on each side for the seam.
So basically you want fabric that is 50″ x 76″. And, yup. I just used two big pieces because like I said… my skills are rudimentary. And, I wasn’t about making some perfect slipcover with a 1.5″ edge all the way around. No. Freaking. Way.
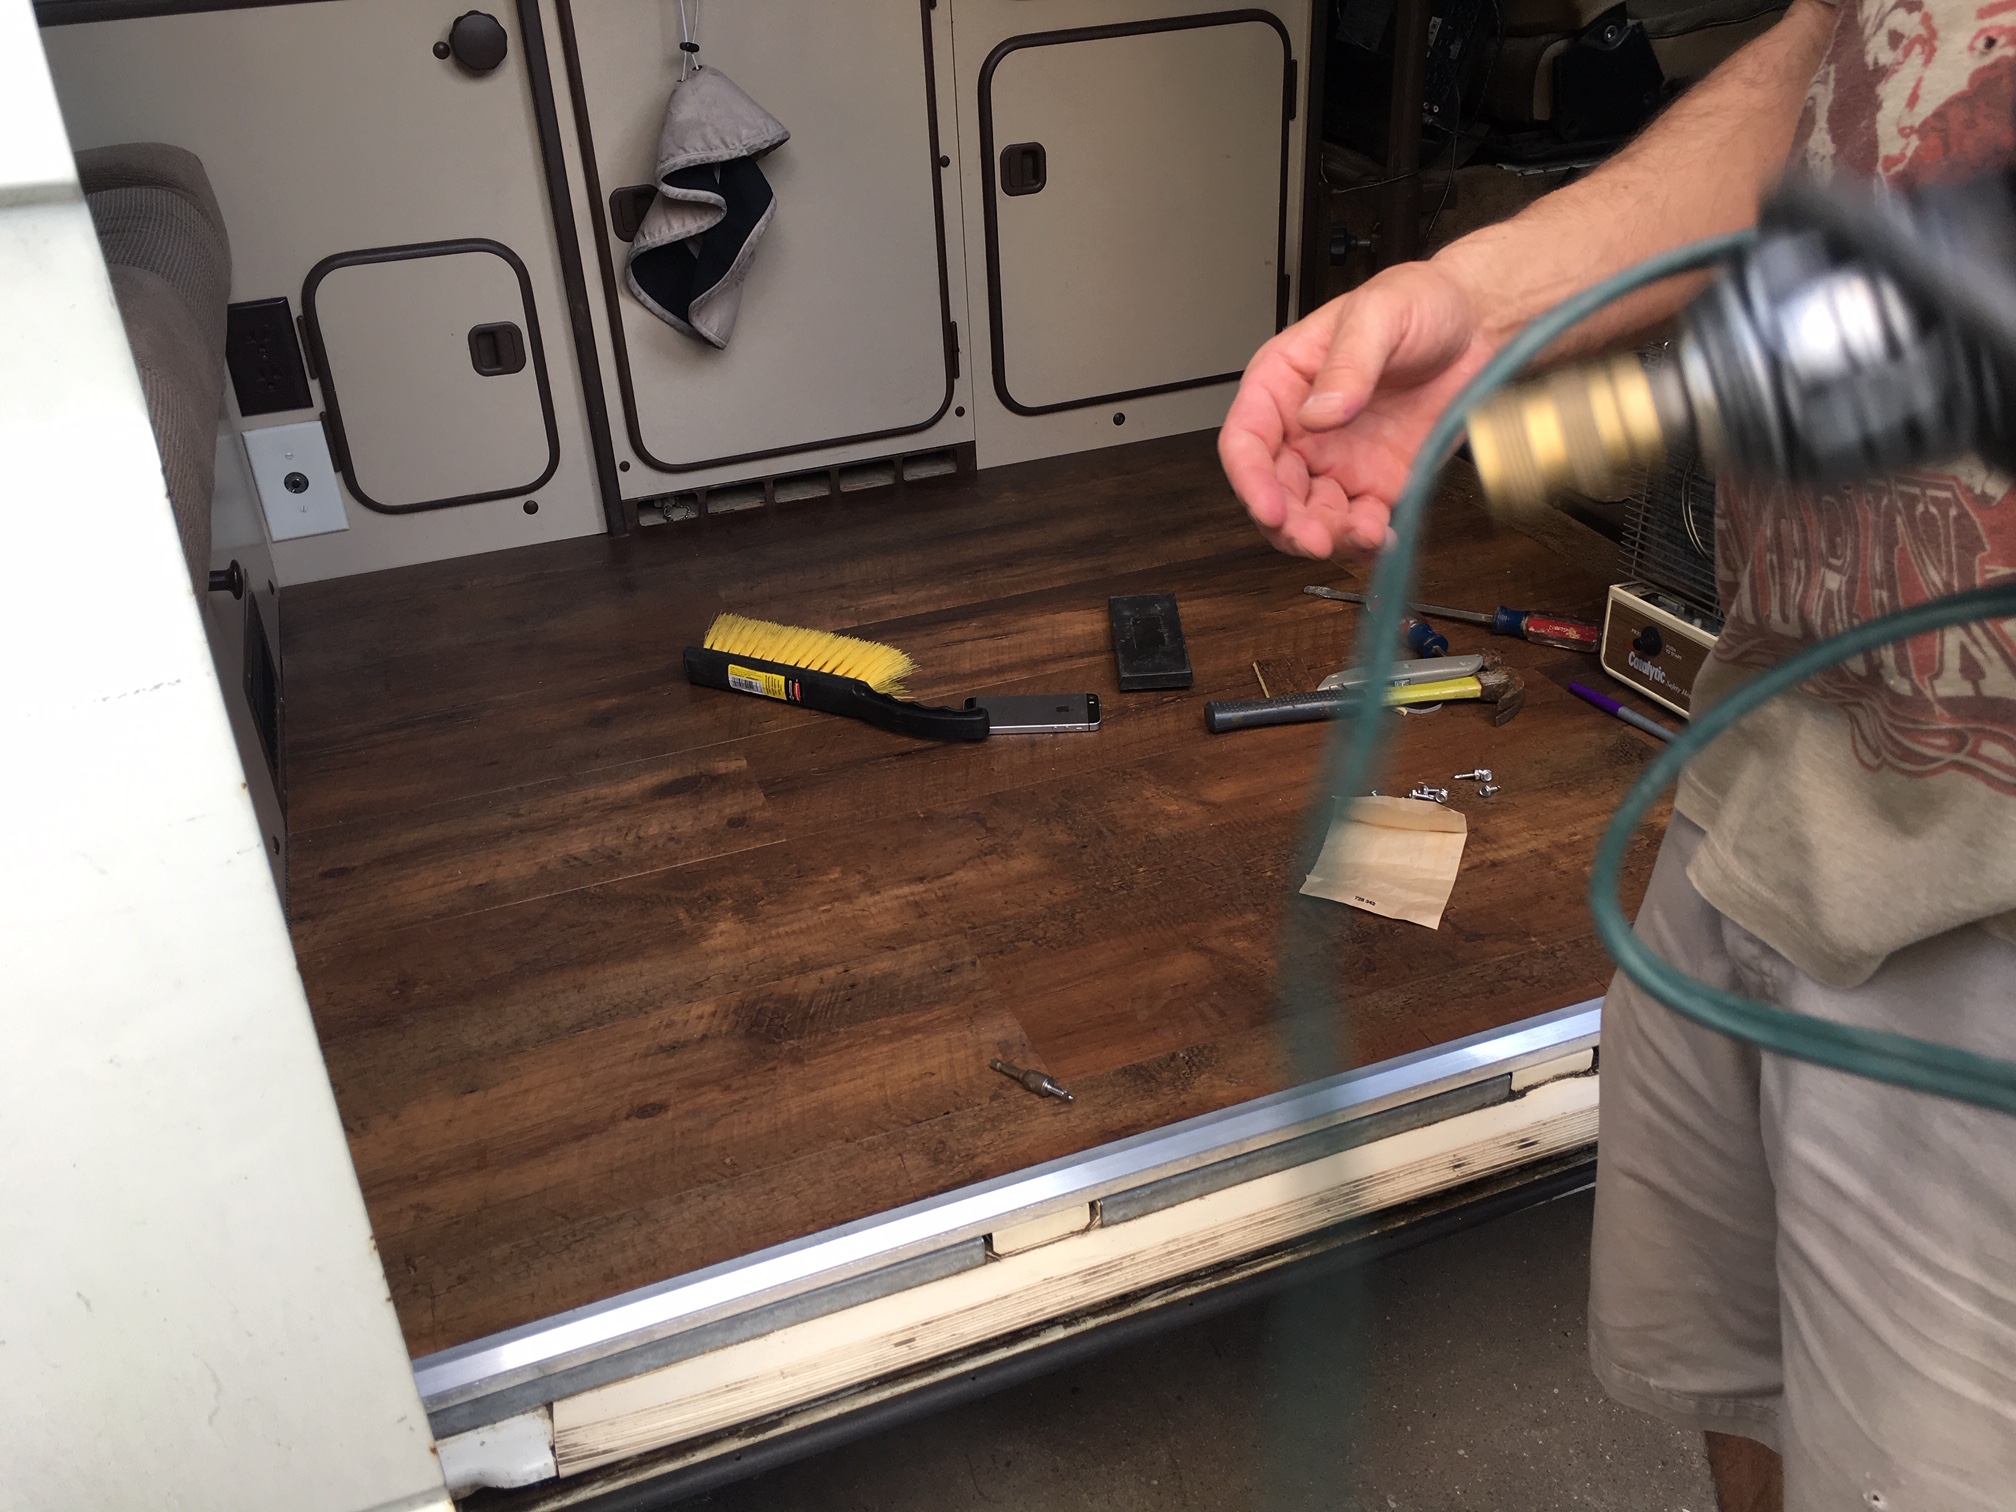
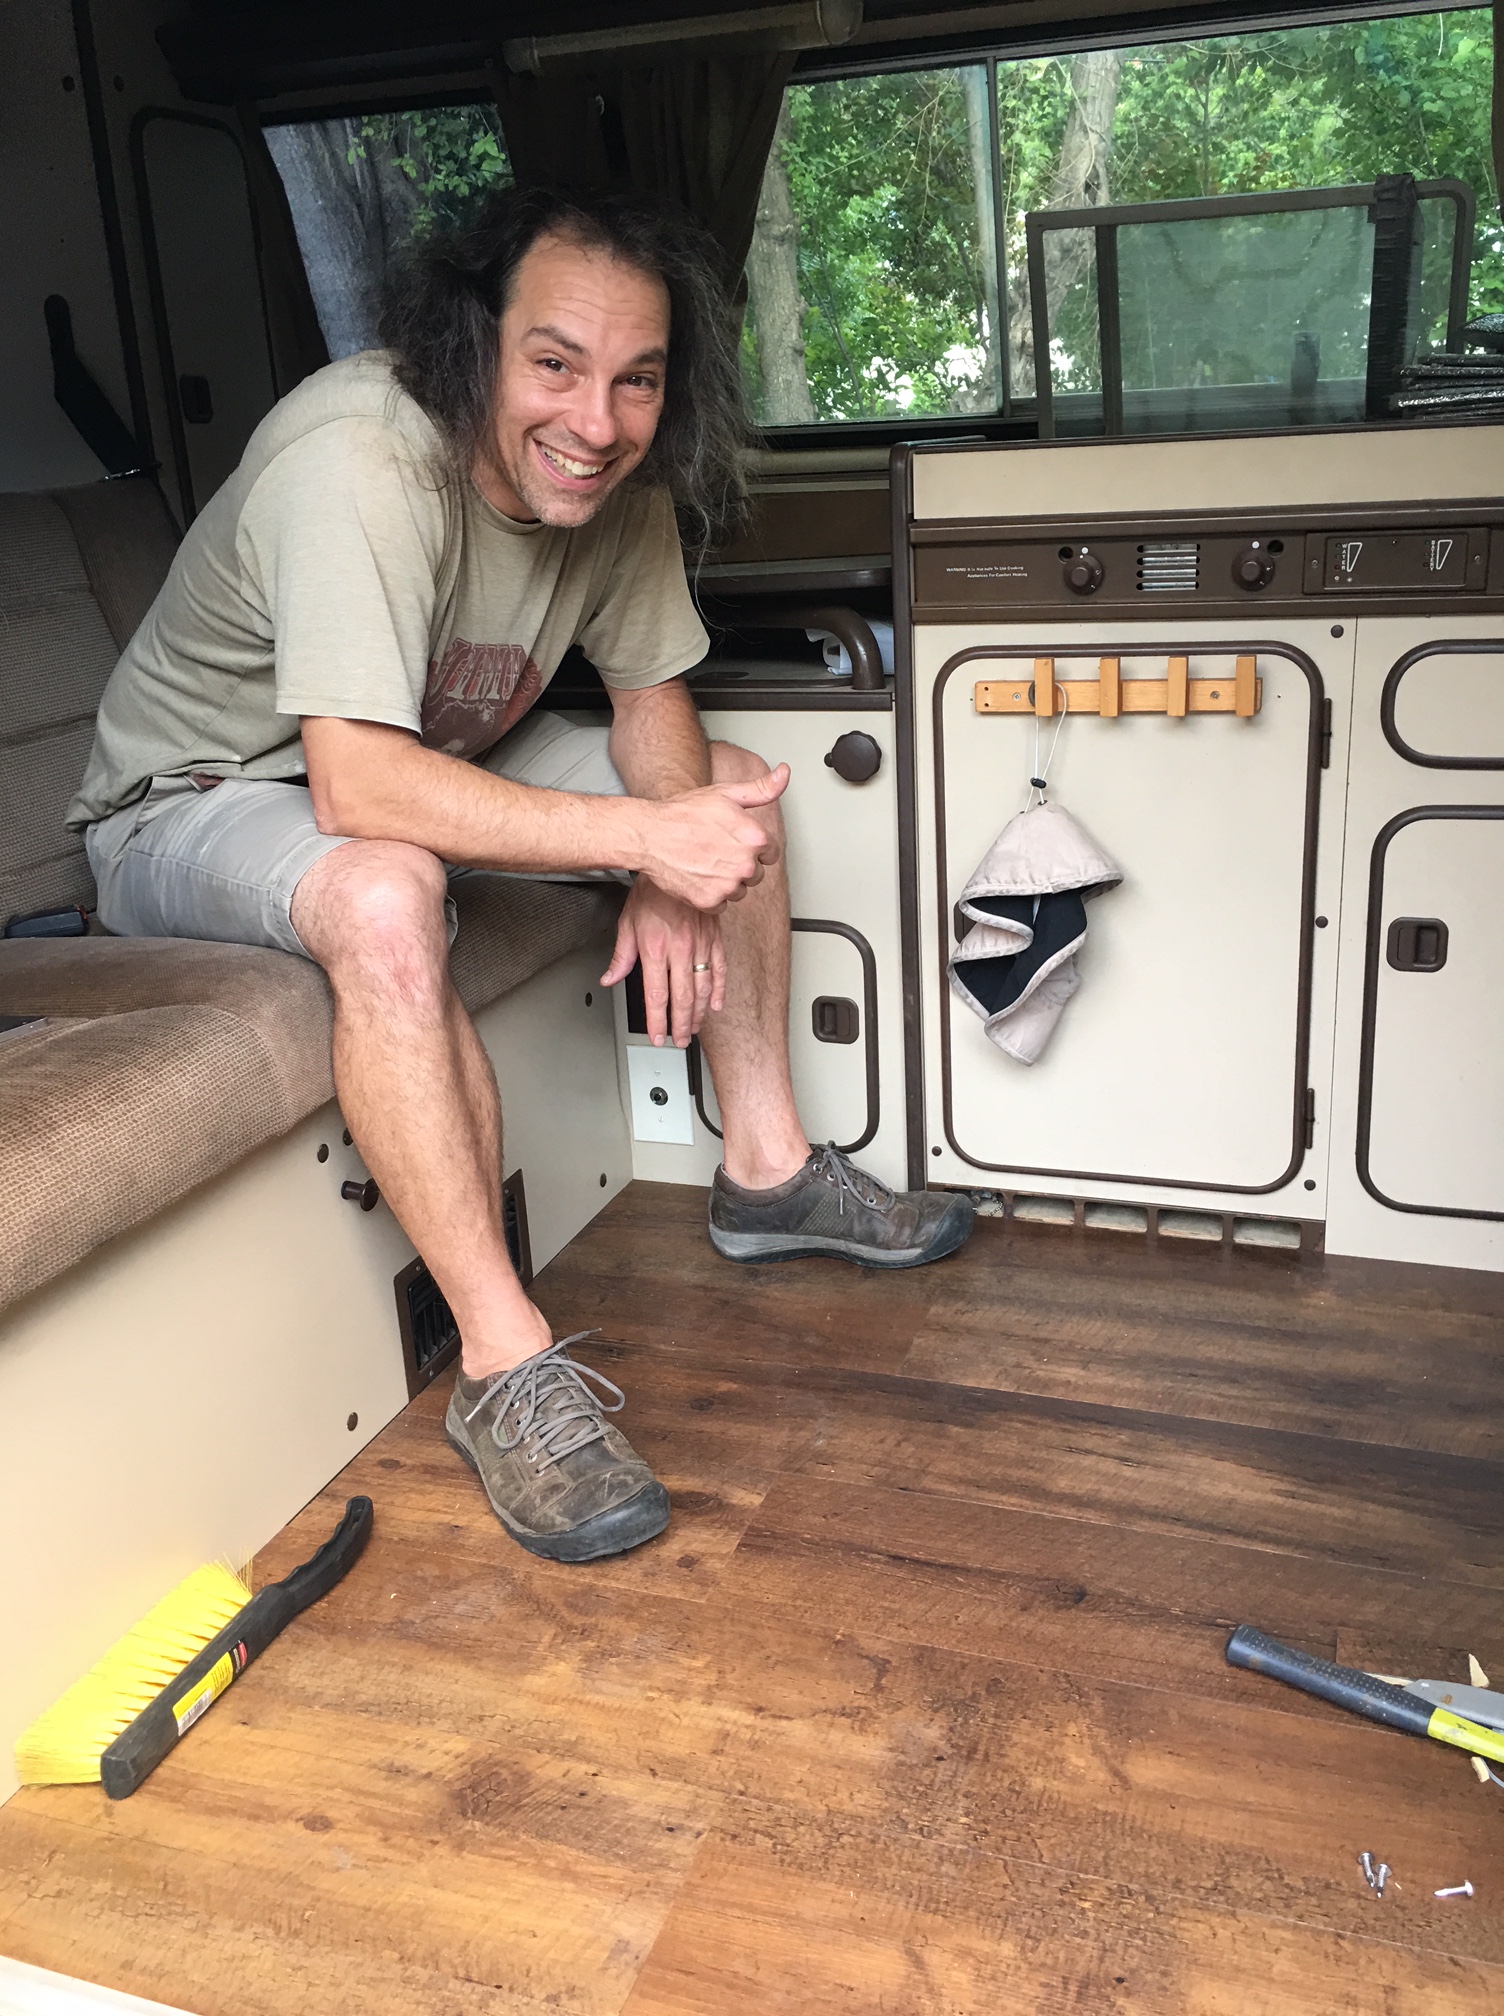
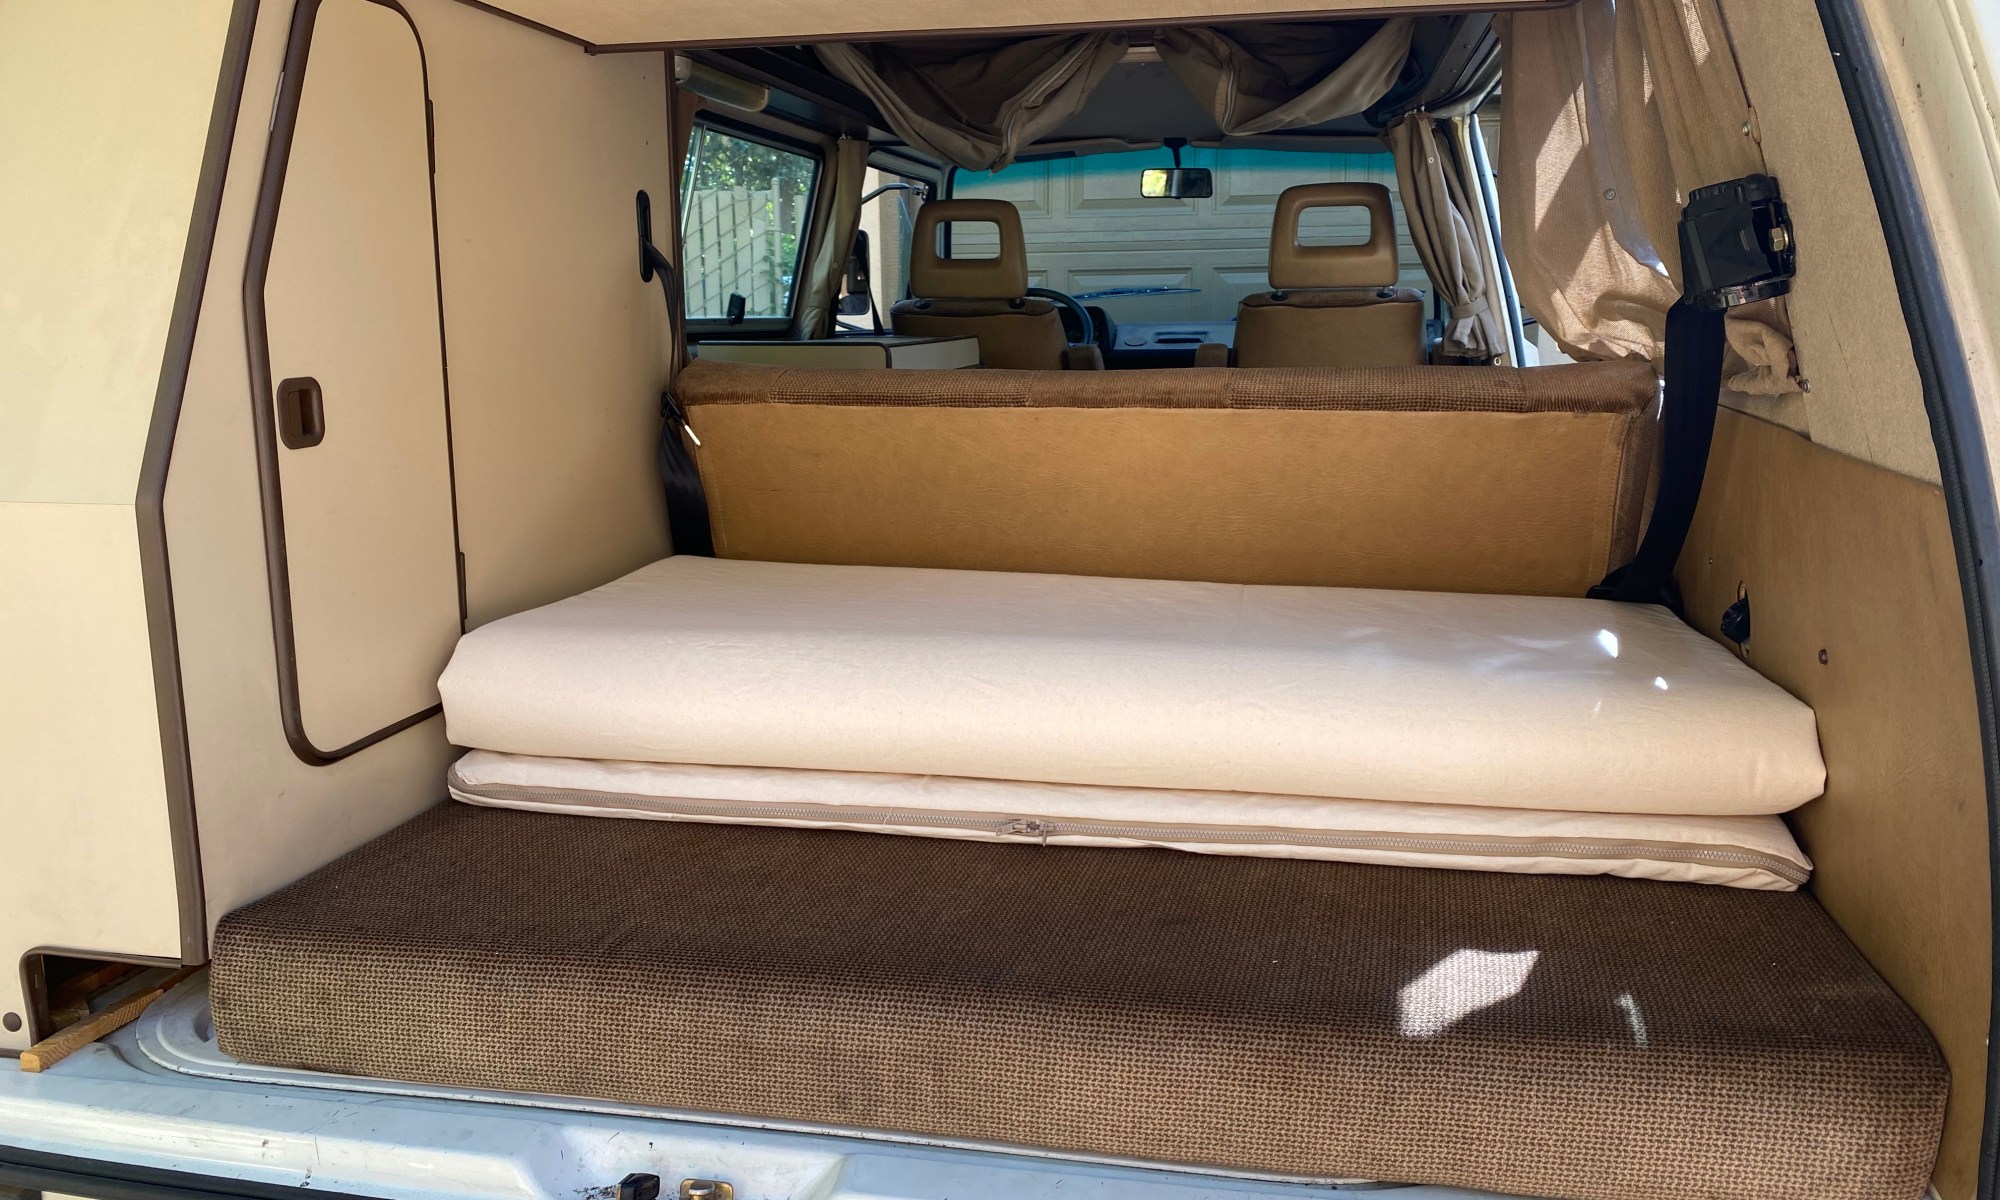
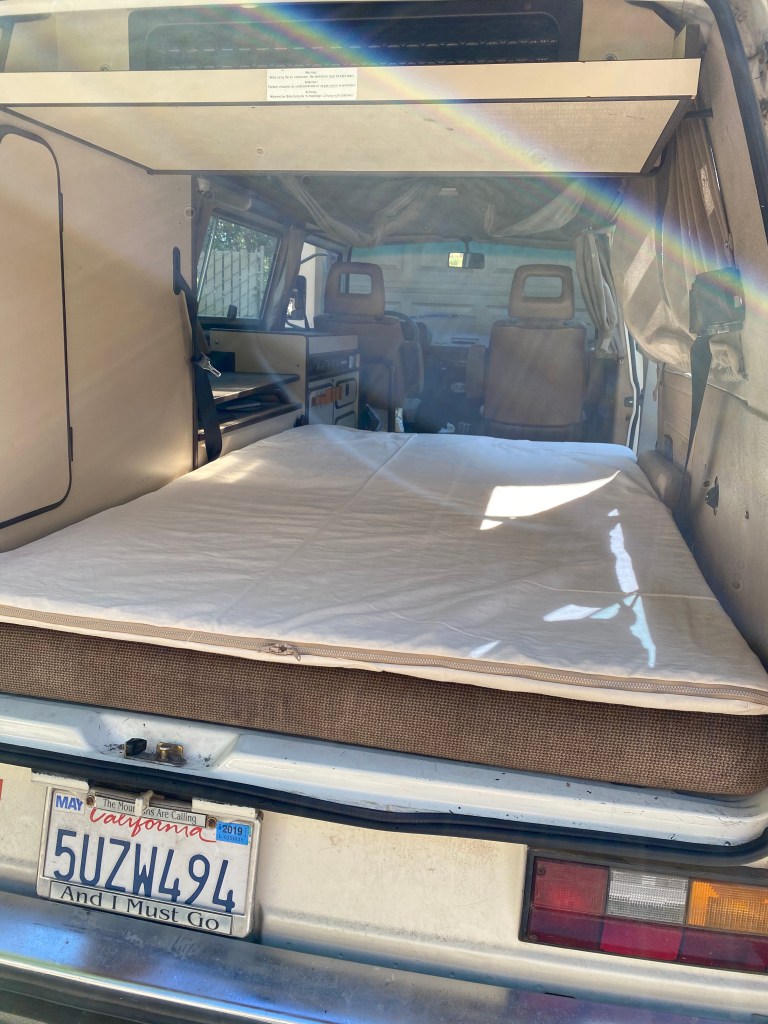
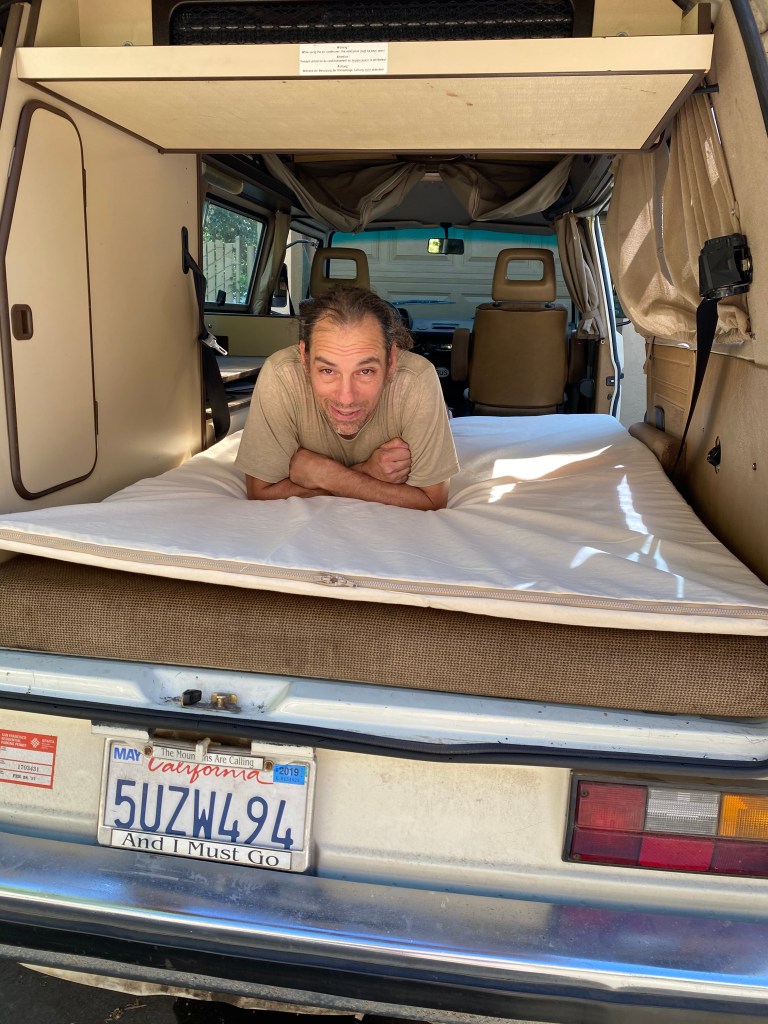
From here, I sewed the zippers first. Because zippers suck. I don’t have a special zipper foot or other special tools; I just sewed the damn thing. In total, my two zippers are 56″ long. So I started in the middle of of the 50″ wide fabric that way the zippers meet in the middle and extend around the corners on each side by about 3-inches. I rounded the corners by bunching and pinning free-hand. Nothing special. Once those bitch-of-a-zippers were done. I basically just sewed it all the way around with those .5″ seams. Then I cut the foam down to 46″. And, My daughter helped me get the foam situated in the new slipcover. Pretty much… it’s rad. I love it. And, I am super-duper excited to try it out this weekend.
How would I do it cheaper? Well my friend just shared with me a farmhouse interior design hack. The article she sent showed someone who used paint drop-cloths to make canvas style farmhouse bedding on the cheap–you’re welcome for that extra hack. I was in too much of a hurry to be cheap. But this is the alternative I would have considered if I had thought it through more. Harbor Freight carries a 9′ x 12′ canvas drop-cloth for 16 dollars. This would be all your need for both sides of the slipcover.
So, $54 for the mattress topper from target, $10 for the zippers, and $16 for the drop-cloth. Grand total $80 if you’re a cheap-bastard who spends the time to think it through and has way more patience than I can manifest.
Overall, I am super pleased with the result, and I am exited about better sleep after a day of kayaking.
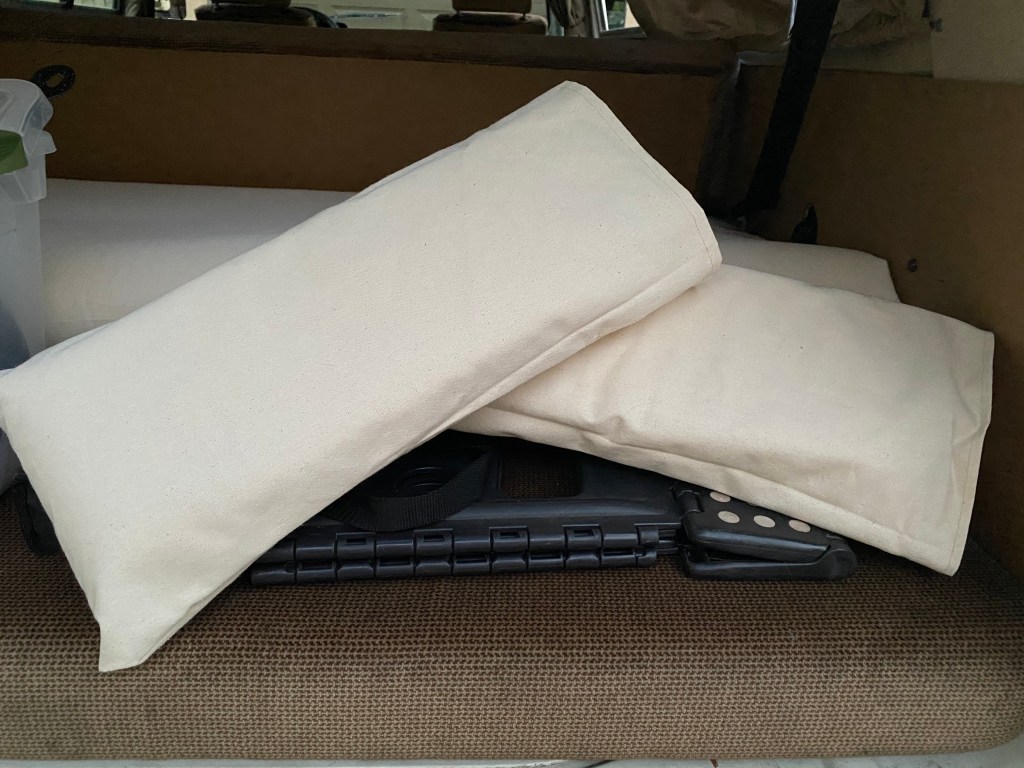
Update (2 hours later): I was cleaning up my mess which consisted of a strip of 7″ x 73.5″ foam and 10″ x 80″ strip of left over canvas. I got to wondering what can I do these scraps. And then I thought… ya know, I could make a couple of small pillows to go with the mattress. So I cut the 73.5″ piece of foam in half. And, I folded each half in half and sewed the foam pieces inside an old crappy pillow case. Really that step was just to keep the folded pieces together. Then, I used the left over canvas to make a couple of pillow cases. The pillows are about 3″ deep and make good little neck pillows. I tried them out. So, I’m happy that I used every bit of everything. And, everything is washable. And, I get a lot of the space I used to lose to big bulky bedding, pillows, and mattress toppers. Yay!
Maybe now, I just need to ask my sister-in-law for some iron on designs using her Cricut. Maybe a “mountains are calling…” or a cool forest symbol to liven things up. I’ll follow up if I do some fancy shit.